Most coffee machines do not fail. They get neglected until the neglect looks like failure. A pump straining against six months of scale, a group head coated in rancid coffee oil, a grinder running on burrs dulled by two years of beans it never fully cleaned out: none of that is a manufacturing defect. It is maintenance that never happened, showing up as a symptom.
This is not a review of one brand or one breakdown. It is the pattern behind most "my machine stopped working" questions, the same five or six failures on repeat, across every machine type from a basic drip maker to a four-figure espresso setup. Below is how to diagnose what is actually wrong, what to do about it today, and how to tell a ten-minute fix from a machine that has earned its retirement.
Coffee Machine Troubleshooting: Symptom-to-Fix Quick Triage
Run through the mechanical symptom that matches what your machine is actually doing before you call a repair shop or order a part. This covers hardware problems only. If your espresso tastes sour or your pour-over runs bitter, that is a dial-in problem, not a machine problem, and a different fix entirely.
Coffee machine leaking:
- Drip machines: water pooling under the base usually means a cracked reservoir seal or a carafe that is not seated flush on the warming plate.
- Pod and single-serve machines: clear water underneath is almost always the water tank not clicking fully into its seat. Brown or coffee-colored water means the puncture area needs a rinse and the brew head needs a weekly flush.
- Espresso machines: water at the group head points to a worn group gasket, the single most common wear part on any machine with regular use. Water under the machine itself usually means a loose hose fitting or a cracked drip tray.
- Super-automatics: check the drip tray is seated and not overfilled first. If it is dry and still leaking, the internal brew unit seal needs replacing, which is usually a job for a technician given how enclosed these units are.
Coffee machine not working (won't power on or won't heat):
- Check the obvious first: outlet, power switch, and a reset after letting the machine sit unplugged for a few minutes. That resets a surprising number of control-board faults.
- Powers on but water never heats: the heating element or thermostat has likely failed. On basic drip makers it is usually cheaper to replace the whole unit than to source that one part.
- Powers on, heats, but trips the breaker repeatedly: there is a short in the heating circuit. Stop using it and get it looked at. This is not a DIY fix.
Weak pressure or weak shots:
- Check technique first: grind too coarse for the basket, dose too low, or an unevenly tamped puck will all read as weak pressure.
- If technique is not the issue, check for scale in the boiler or pipes. Mineral buildup narrows the path water takes and drops pressure gradually, which is why it is easy to miss until shots are visibly running fast and thin.
- A worn pump is the next suspect, especially past the three to five year mark on a daily-use machine. Pumps are a known wear item and a reasonable repair on an otherwise healthy machine.
Loud, grinding, or rattling noise:
- From the grinder: usually a foreign object, like a stray stone, or burrs overdue for cleaning. Stop immediately if you hear a hard grind or metal-on-metal sound. Running it longer risks damaging the burrs themselves.
- From the machine body: a pump working harder than it should, often scale again, or a worn fan or motor bearing on larger super-automatics.
The Maintenance Variable Nobody Blames: What You're Actually Grinding
Here is the part most troubleshooting guides skip. The machine takes the blame, but a lot of "my machine is wearing out early" cases trace back to what is going into it: stale beans, and the wrong grind for your brew method.
None of this requires a different machine. It requires beans that are actually fresh when they arrive, ground for the way you are going to brew them instead of a generic setting that is wrong for at least one method. That is the whole premise behind roast-to-order coffee: you pick the roast, you pick a grind matched to your brew method, drip, pour-over, French press, and more, and it ships close enough to the roast date that you are never grinding beans that already spent a season losing oil onto your burrs.
Here is why that matters mechanically, not just for taste. Stale beans oxidize and turn oily on the surface, and that oil does not stay on the bean. It coats burrs, clumps inside grind chambers, and leaves residue through the brew path that is harder to flush than oil from fresh beans, because fresh beans still releasing CO2 helps keep grounds from compacting and clinging to surfaces in the first place. Beans sitting in a pantry bag for two months do neither of you any favors: your cup tastes flatter, and your machine works harder to push water through grounds that are not behaving the way they did on day one.
Wrong grind size compounds it. Too fine for your machine and the pump strains to force water through a denser puck, which is real, repeated stress on the exact parts covered above: pumps, valves, group heads. Too coarse, and people compensate by cranking dose or pressure settings past where the machine is comfortable running, which is its own kind of wear. It will not fix a worn pump. It will stop you from accelerating the wear on a healthy one.
Descaling Coffee Machine Basics (and Why Your City's Water Changes the Schedule)
Descaling removes the mineral scale, calcium and magnesium deposits, that water leaves behind inside a machine's boiler, pipes, and valves as it heats. Left alone, scale is why machines heat slower, brew slower, get louder, or lose pressure gradually enough that you end up blaming everything except the real cause.
The process is similar across most machines: empty and clean the reservoir, run a descaling solution (a dedicated descaler, or a vinegar-and-water mix on machines that tolerate it, check your manual since not all do) through a brew cycle, let it sit if your instructions say to, then flush with at least two full cycles of plain water before you make coffee again. Most manufacturers suggest doing this every one to three months depending on water hardness and how often you brew.
That water-hardness part matters more in Canada than a generic rule accounts for. Calgary sits on some of the hardest municipal water in the country, mineral-rich enough that it is a known factor for anyone running a machine there, so a quarterly descale is often not enough and monthly is closer to right. Vancouver is the opposite case, fed by mountain snowmelt that runs naturally soft, so machines there can often stretch past the box's recommended interval. Toronto lands in the moderately hard range too, closer to Calgary's side of the scale than Vancouver's. If you do not know your own city's number, your water utility publishes it, and it is worth five minutes to check before you guess at a schedule.
If you are in Calgary and building a coffee routine around a machine for the first time, or replacing beans that have been sitting around as long as the scale has, our Calgary coffee subscription runs on the same logic as the schedule above: fresher inputs, less buildup, less guessing.
Coffee Machine Maintenance Schedule: What to Do and When
Most of the symptoms above are preventable with a few minutes of care a week. Call it espresso machine maintenance if that is what you own, or just basic upkeep for anything else. The logic is the same across machine types.
Daily:
- Empty and rinse the water tank or reservoir. Do not just top it up on top of yesterday's water.
- Empty the drip tray. A full drip tray is how clean water starts looking like a leak.
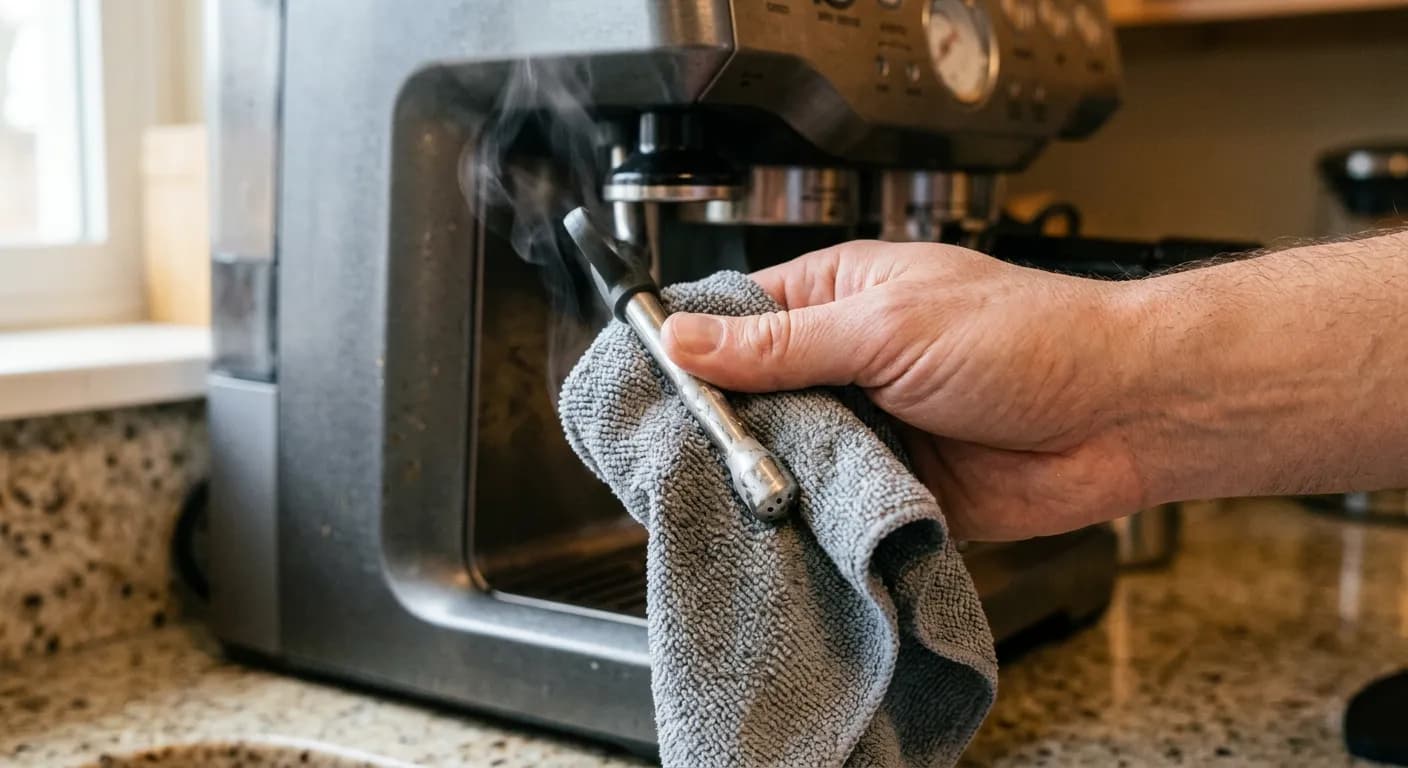
- Wipe the steam wand immediately after frothing, before milk dries on it. Dried milk is the single biggest cause of a steam wand that sprays instead of steams.
Weekly:
- Rinse the brew group or portafilter basket with hot water, no soap needed, to clear built-up coffee oils.
- Run a backflush cycle on espresso machines that support a blind filter.
- Brush loose grounds and surface oil out of the grinder chamber and off any burrs you can reach without disassembly.
- Check the water tank seats fully. A tank slightly off its seat is a top cause of the clear-water-underneath leak from the triage section above.
Monthly:
- Deep-clean removable parts (basket, carafe, drip tray) with warm soapy water, including anywhere a rubber gasket tends to hide oil.
- Clean the steam wand's internal channel, not just the outside. If you are shopping for an upgrade on the milk side rather than maintaining what you have, our Nespresso Steamer Pro comparison walks through what separates a commercial-grade steamer from a basic one.
- Check for visible scale around the water inlet and group head.
Quarterly (or monthly in hard-water cities, see above):
- Full descale cycle, per the process above.
- Replace the water filter if your machine uses one.
- A deeper burr clean, full disassembly on burr grinders, covered in the grinder section below.
- Inspect gaskets and seals for cracking or flattening. A gasket that no longer springs back after you press it is due for replacement before it starts leaking.
Stick to this and most of the triage section above stops being necessary in the first place.
Coffee Grinder Maintenance: Burrs, Calibration, and Static
Your grinder works harder than almost anything else on the counter and gets cleaned the least.
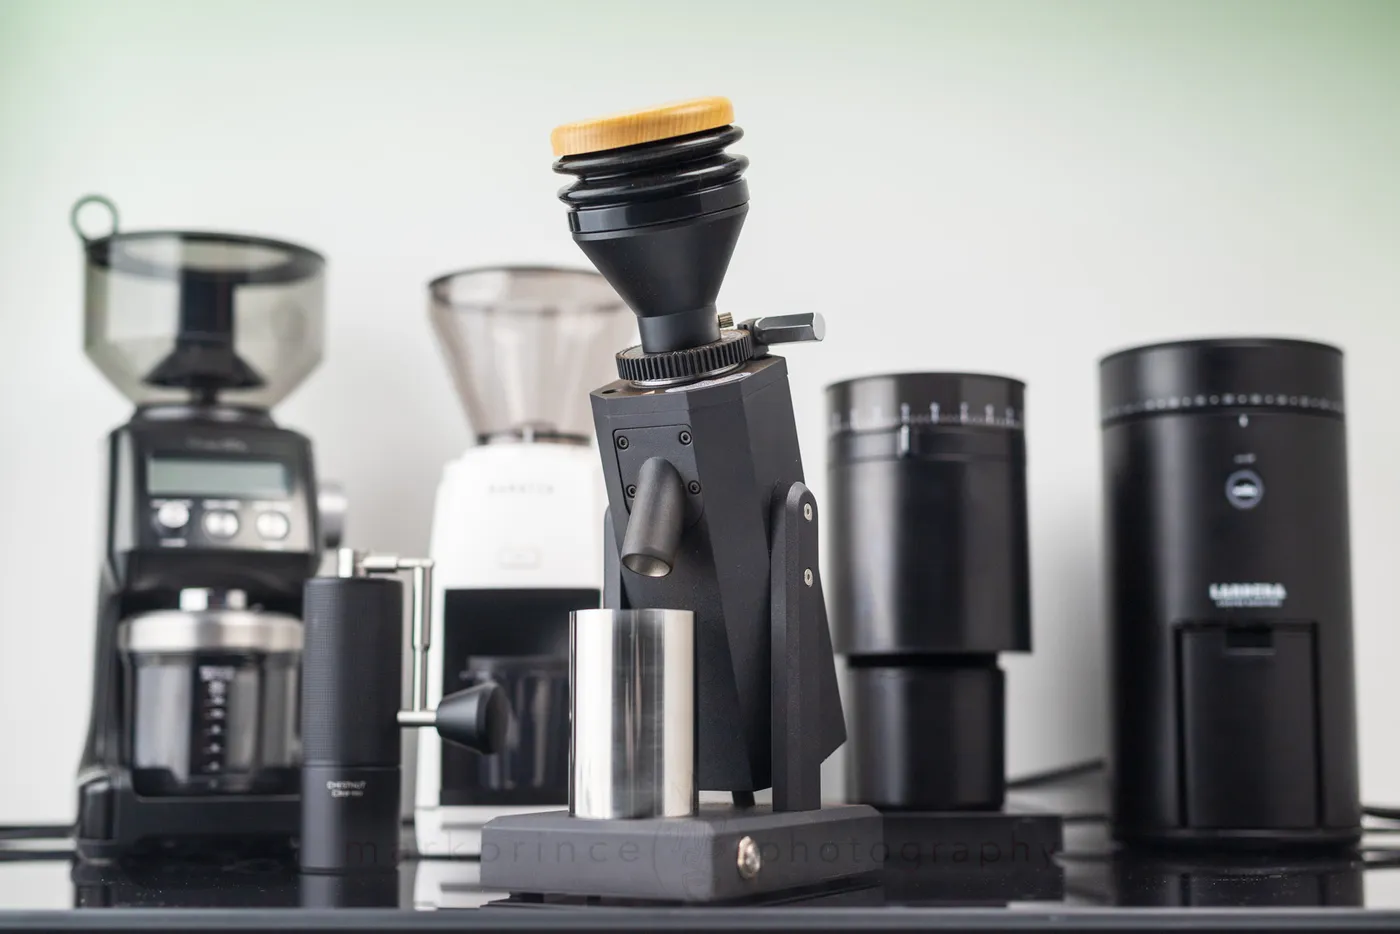
Burr cleaning: unplug the grinder, remove the hopper, and brush out the chamber with a dedicated grinder brush. Burr grinders need the burrs themselves cleaned roughly every month under normal home use, and most popular grinders let you remove the upper burr without tools. Coffee oil builds up on burr faces over time and goes rancid, which shows up as a flat, stale edge on coffee that should taste fresh. Grinder cleaning tablets, run dry through the hopper like beans, are a reasonable middle step between a brush-out and a full disassembly.
Calibration: if your grind suddenly looks different at the same setting, the burrs have likely worn or shifted, not your technique. Home burr sets typically hold calibration for several hundred pounds of coffee, which for most households is years. But if your dial has been bumped or the grinder was recently disassembled for cleaning, zero it against the manufacturer's instructions before you assume something is broken.
Static: grounds clinging to the chamber walls and jumping across the counter is static, not a fault. A few drops of water flicked onto whole beans before grinding, a trick home baristas sometimes call the Ross Droplet Technique, reduces it noticeably, as does grinding directly into a metal container instead of plastic.
Worth saying plainly: a better grinder will not fix beans that were never fresh to begin with, and a cheap grinder maintained well will outlast an expensive one that never gets cleaned. If you are weighing whether your next upgrade should be the grinder or the machine, we've written about why the grinder is usually the more expensive, and more important, half of that pair.
Coffee Machine Repair or Replace: A Simple Rule of Thumb
Once you have ruled out the easy fixes above, the real question is whether to repair or replace. A few things worth knowing before you pay for a diagnosis or order a part.
What is failing matters more than how old the machine is. Small, modular parts, water tanks, drip trays, gaskets, descaling-related buildup, are cheap and fast to fix on almost any machine, often well under the price of a service call. Once the failure is internal (a pump, a boiler, a control board) the math changes: those repairs often run close to what a comparable new machine costs, especially once you add a technician's labour or shipping a machine in for service.
A rough rule of thumb: if a repair quote comes in at half or more of what it would cost to replace the machine with an equivalent new one, replace it. A cleaner way to think about it is cost per year: divide the repair cost by how many extra years it realistically buys you, then divide a replacement's price by its expected lifespan. Whichever number per year is lower is the better deal. It is not always replacement: a cheap part swap on an otherwise healthy machine is usually the best value you will find anywhere in this list.
When to stop repairing, full stop: a machine that has needed three or more repairs in two years, one that trips breakers or shows any sign of an electrical fault, or a basic drip machine where the part alone costs more than half of a new one. None of those are worth chasing.
If you do decide to replace rather than repair, it is worth saying here that a subscription does not require a fancier machine to taste better. Fresher beans and the right grind do most of that work regardless of what you brew on, which is worth knowing before you spend on a machine upgrade you may not need.
The Bottom Line
A machine that is leaking, straining, or making a noise it did not used to make is telling you something specific, not failing randomly, and almost everything above takes less time to fix than it took to read about it. Keep the routine simple, catch small failures before they become expensive ones, and remember that half of what makes coffee taste like it is worth the trouble is never the machine at all. If you want to take beans and grind size off your list of variables entirely, that is exactly what our coffee subscription is built to do: pick your roast, pick your grind, and let freshness stop being one more thing you have to manage.